Create a Graph system
version compatibility
This feature is only available on the Windows, macOS, Linux and PWA versions of System Designer.
In this tutorial we will show how to create a Graph.
Create a Graph system
- click on the import button on the left toolbar,
- a dialog is shown,
- click on from the library radio button,
- select Create a Graph system from the proposed systems,
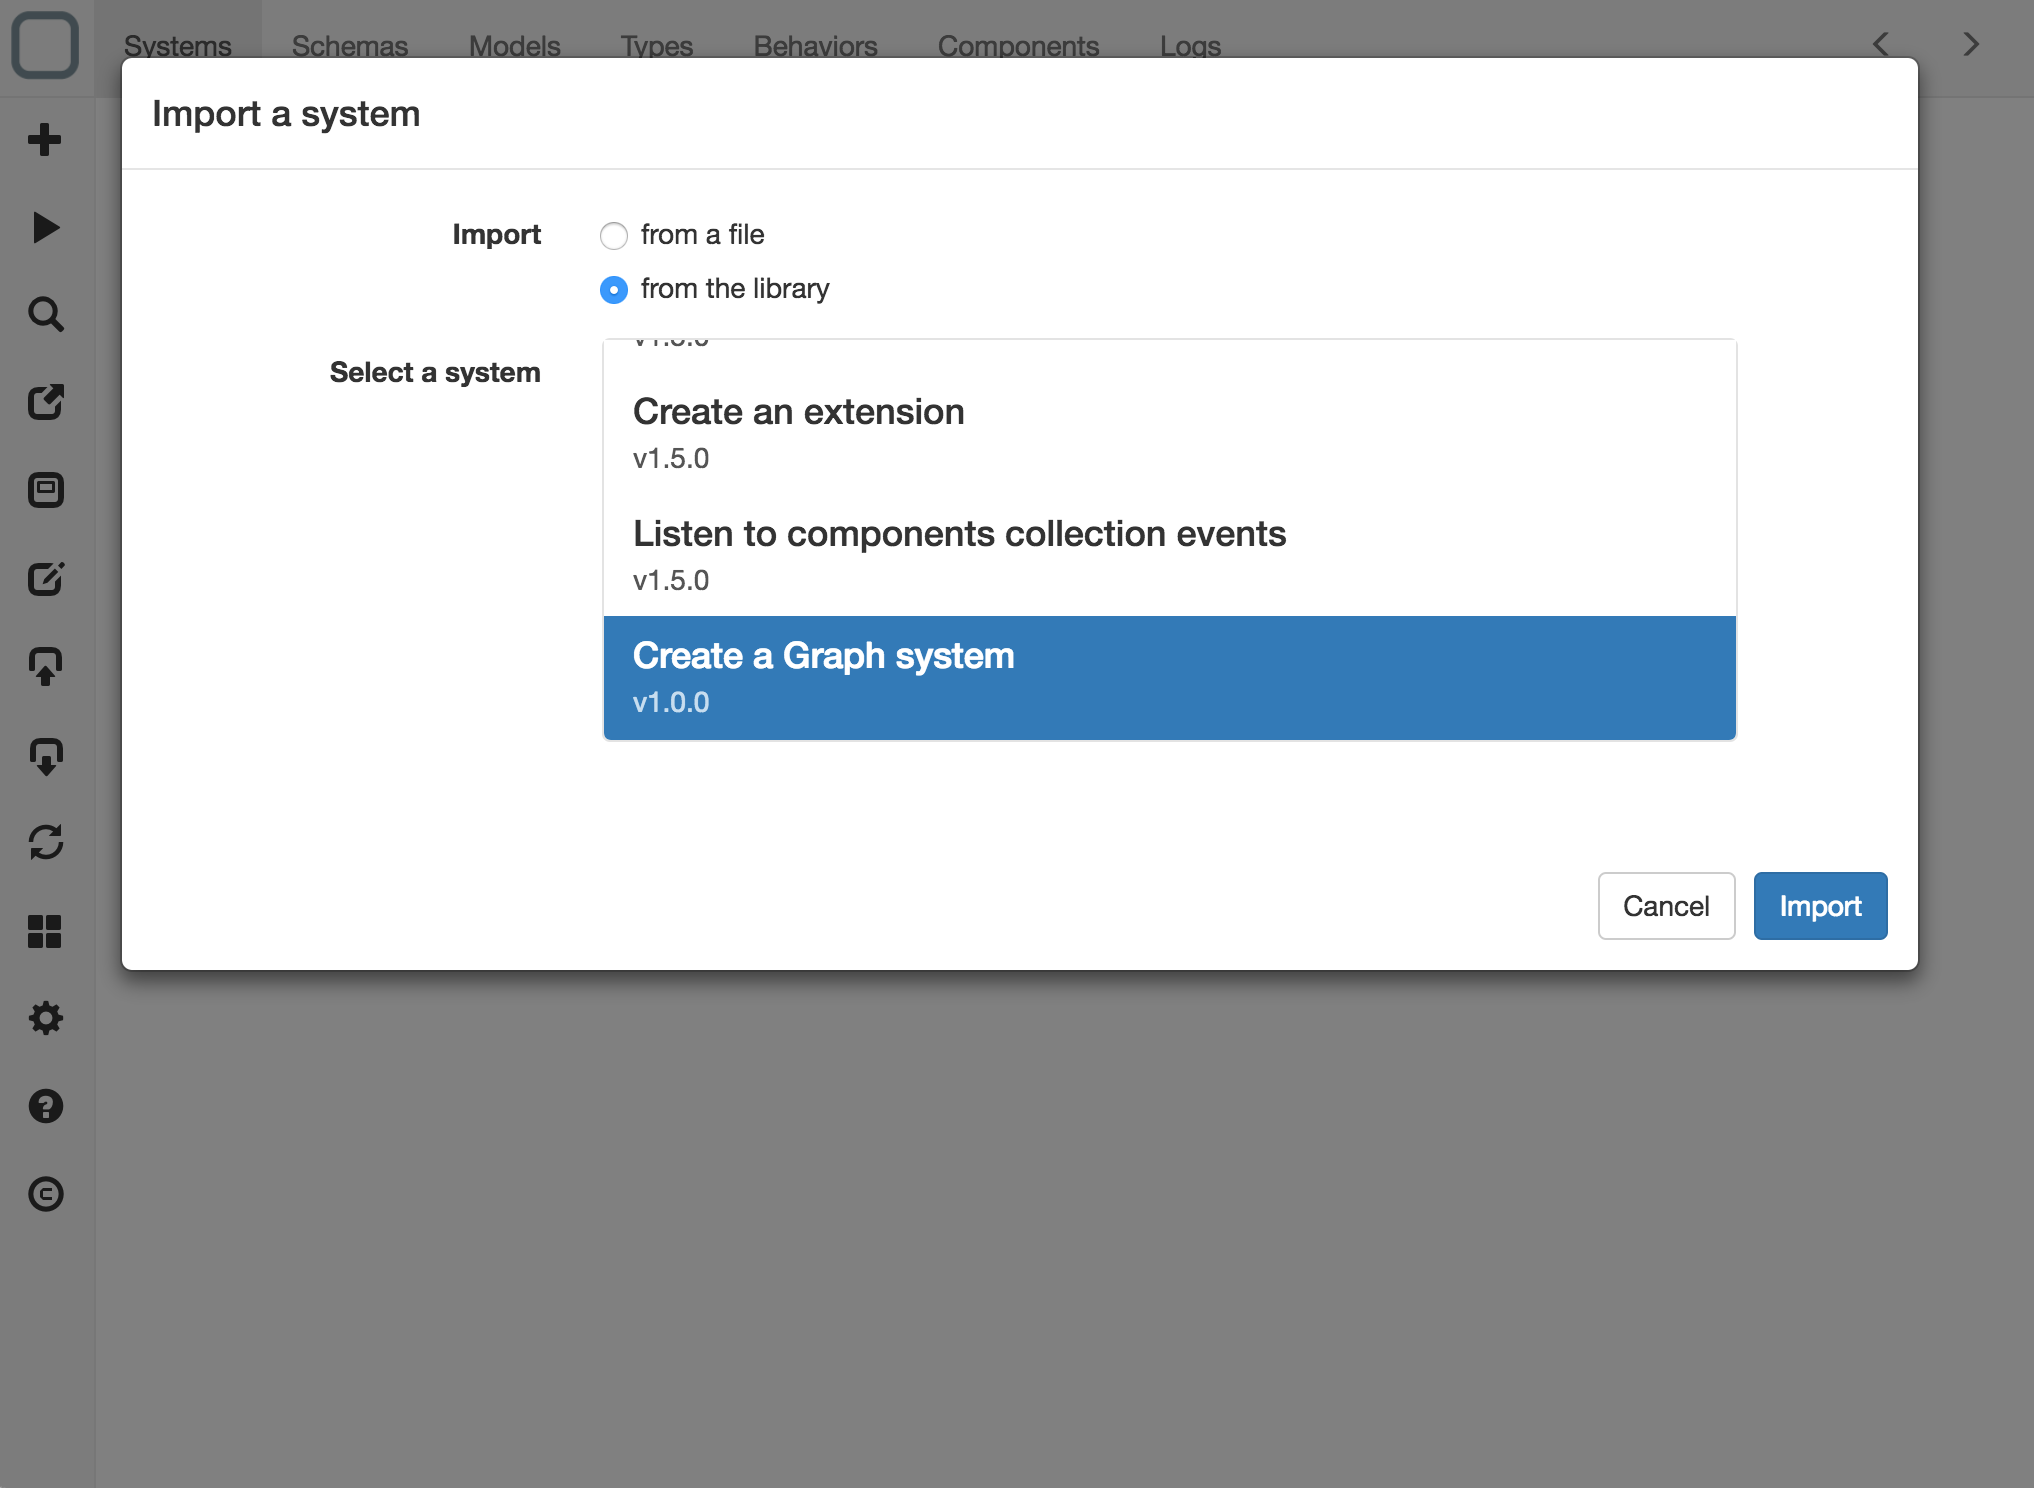
- click on the Import button. A system is created.
This system contains Nodes and Relationships models that you need to extends to create your Graph.
important
Do not rename Nodes and Relationships models, because they are used for creating Graph diagram.
Create the nodes models
- Click on Schemas tab and create a Book schema that inherit from Nodes:
{
  "_id": "i1d8501332c1c6bd",
  "_name": "Book",
  "_inherit": [
    "Nodes"
  ],
  "title": "property",
  "author": "property"
}
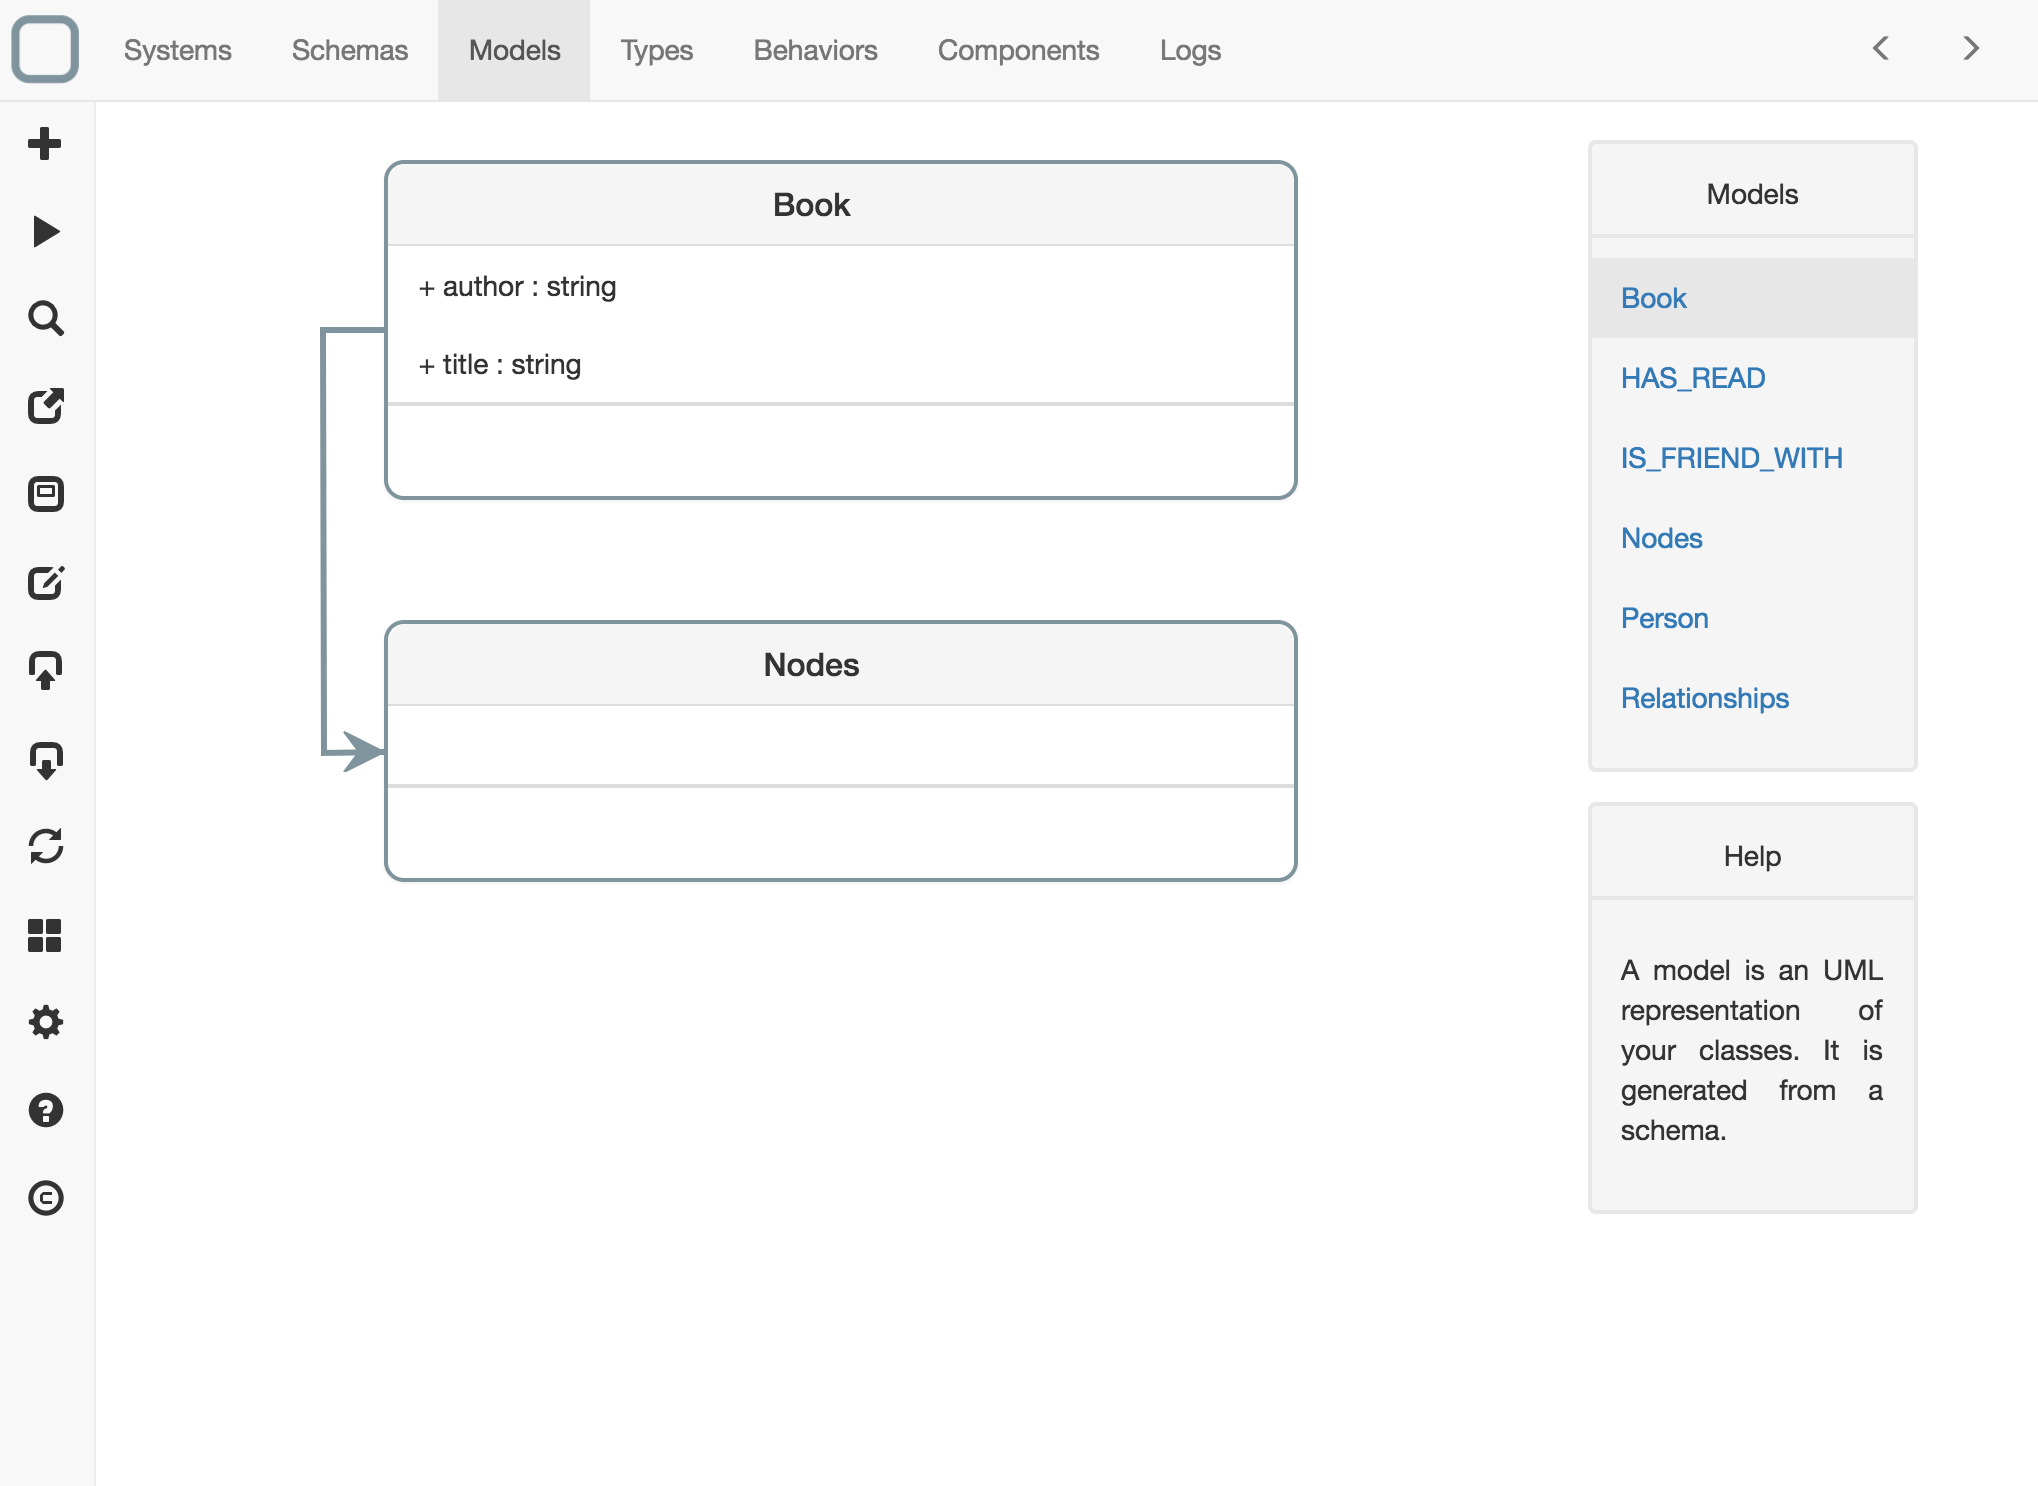
Then click on Models tab and edit Book model:
{
  "_id": "y12eff155c715742",
  "_name": "Book",
  "_description": "",
  "title": {
    "description": "",
    "type": "string",
    "readOnly": false,
    "mandatory": false,
    "default": ""
  },
  "author": {
    "description": "",
    "type": "string",
    "readOnly": false,
    "mandatory": false,
    "default": ""
  }
}
- Click on Schemas tab and create a Person schema that inherit from Nodes:
{
  "_id": "n1a88c10eff1beb6",
  "_name": "Person",
  "_inherit": [
    "Nodes"
  ],
  "name": "property",
  "age": "property"
}
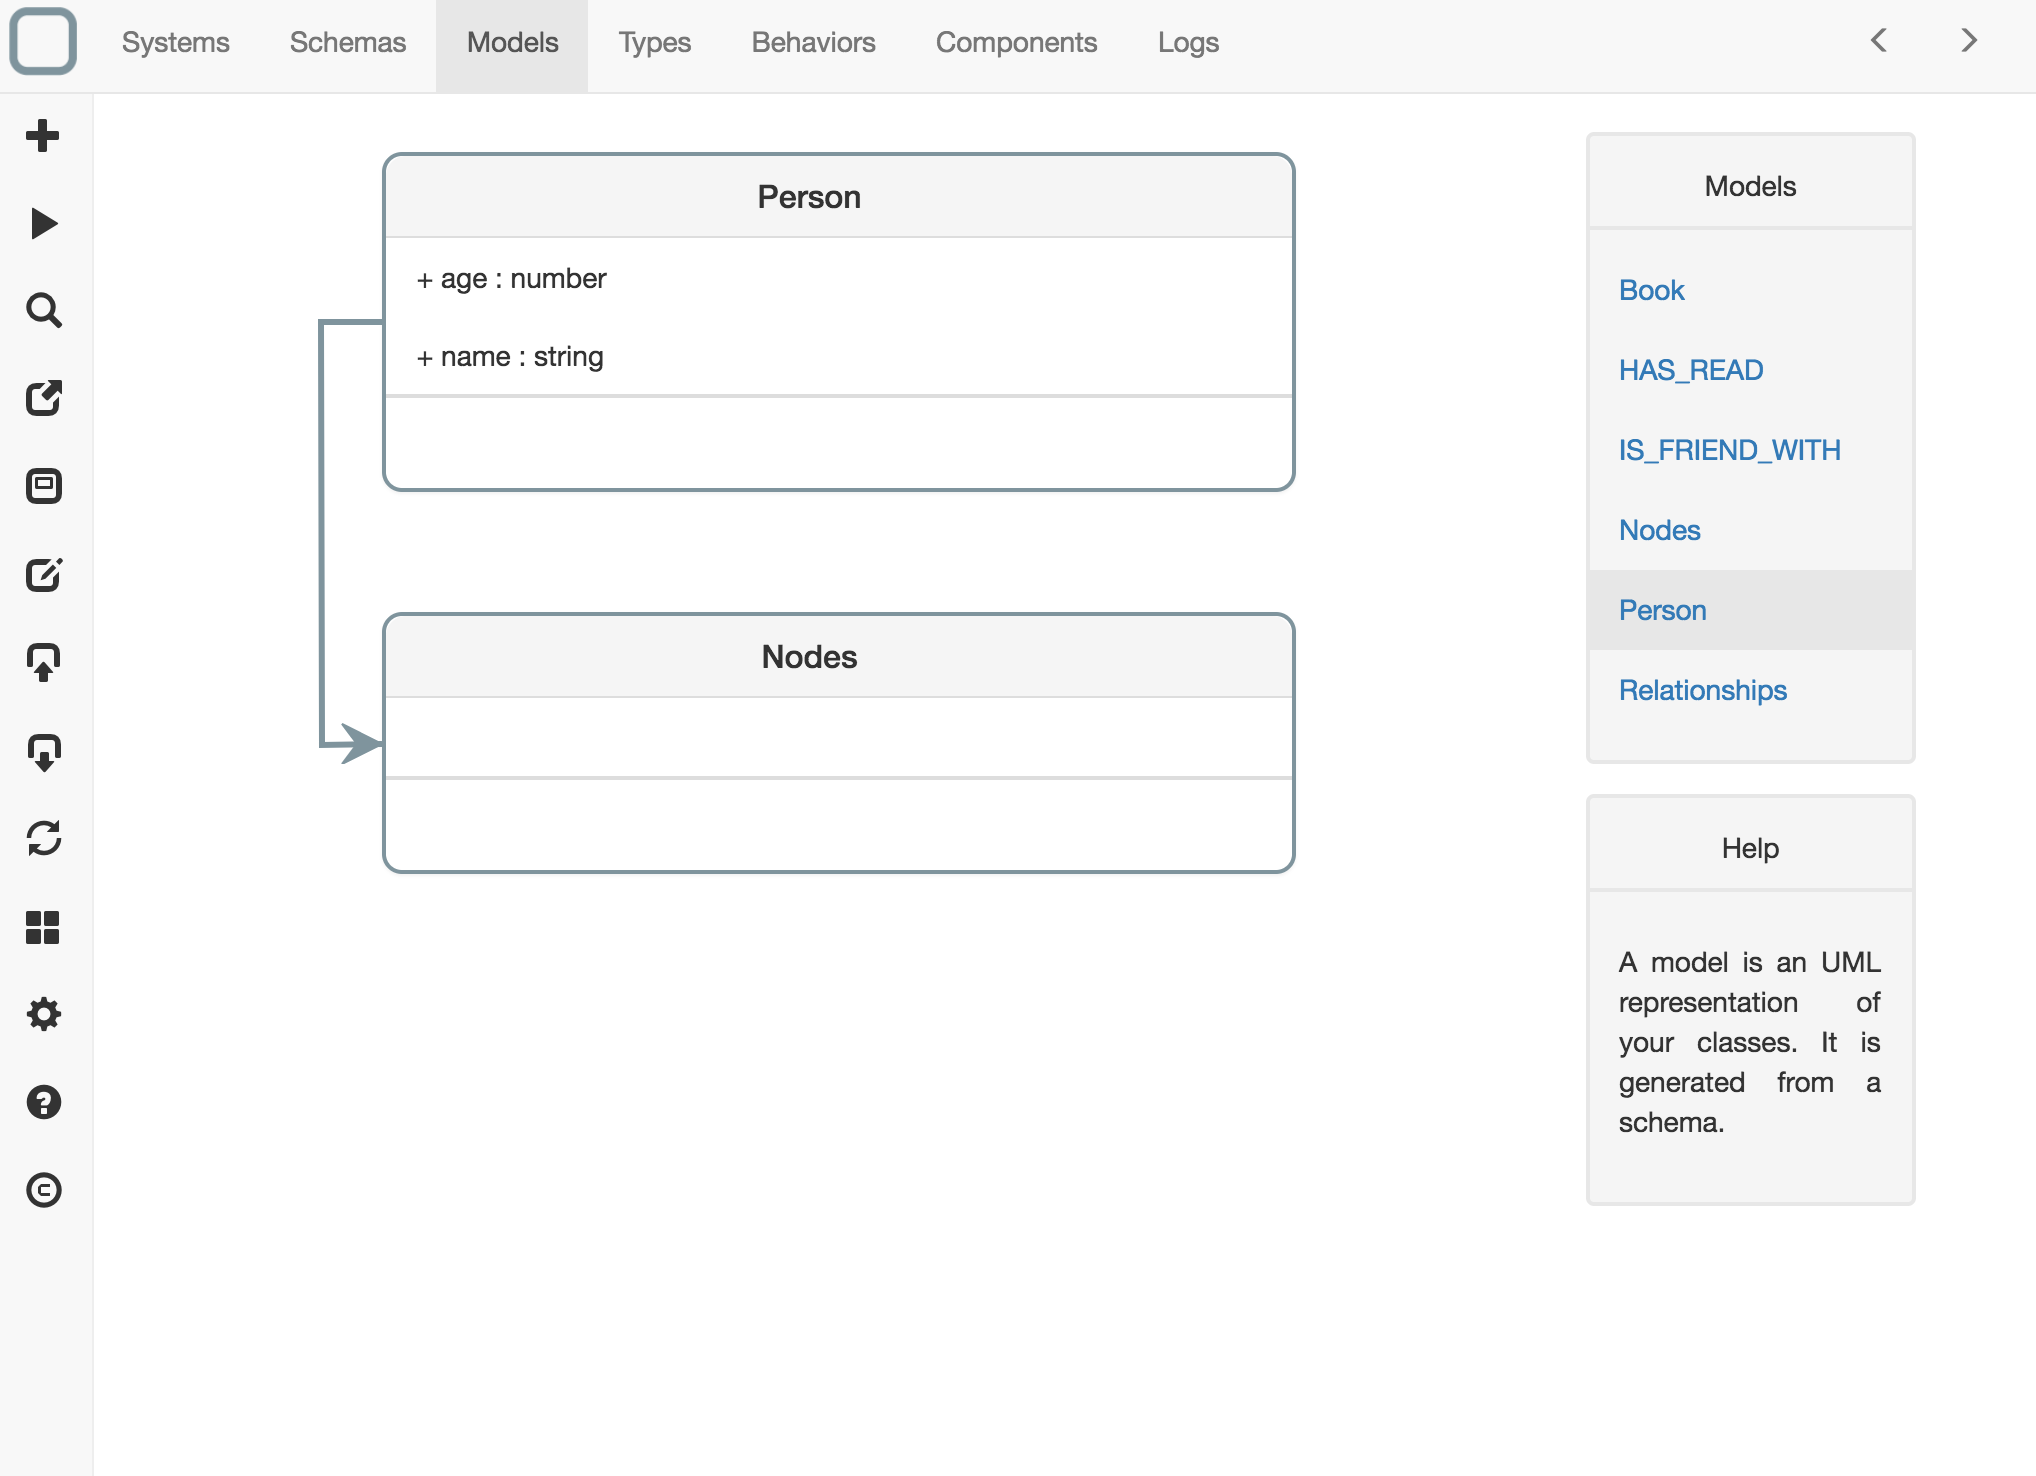
Then click on Models tab and edit Person model:
{
  "_id": "m11c1515b7e12099",
  "_name": "Person",
  "_description": "",
  "name": {
    "description": "",
    "type": "string",
    "readOnly": false,
    "mandatory": false,
    "default": ""
  },
  "age": {
    "description": "",
    "type": "number",
    "readOnly": false,
    "mandatory": false,
    "default": 0
  }
}
Create the relationships models
- Click on Schemas tab and create a HAS_READ schema that inherits from Relationships:
{
  "_id": "i15a3614c1e17109",
  "_name": "HAS_READ",
  "_inherit": [
    "Relationships"
  ],
  "date": "property",
  "rated": "property"
}
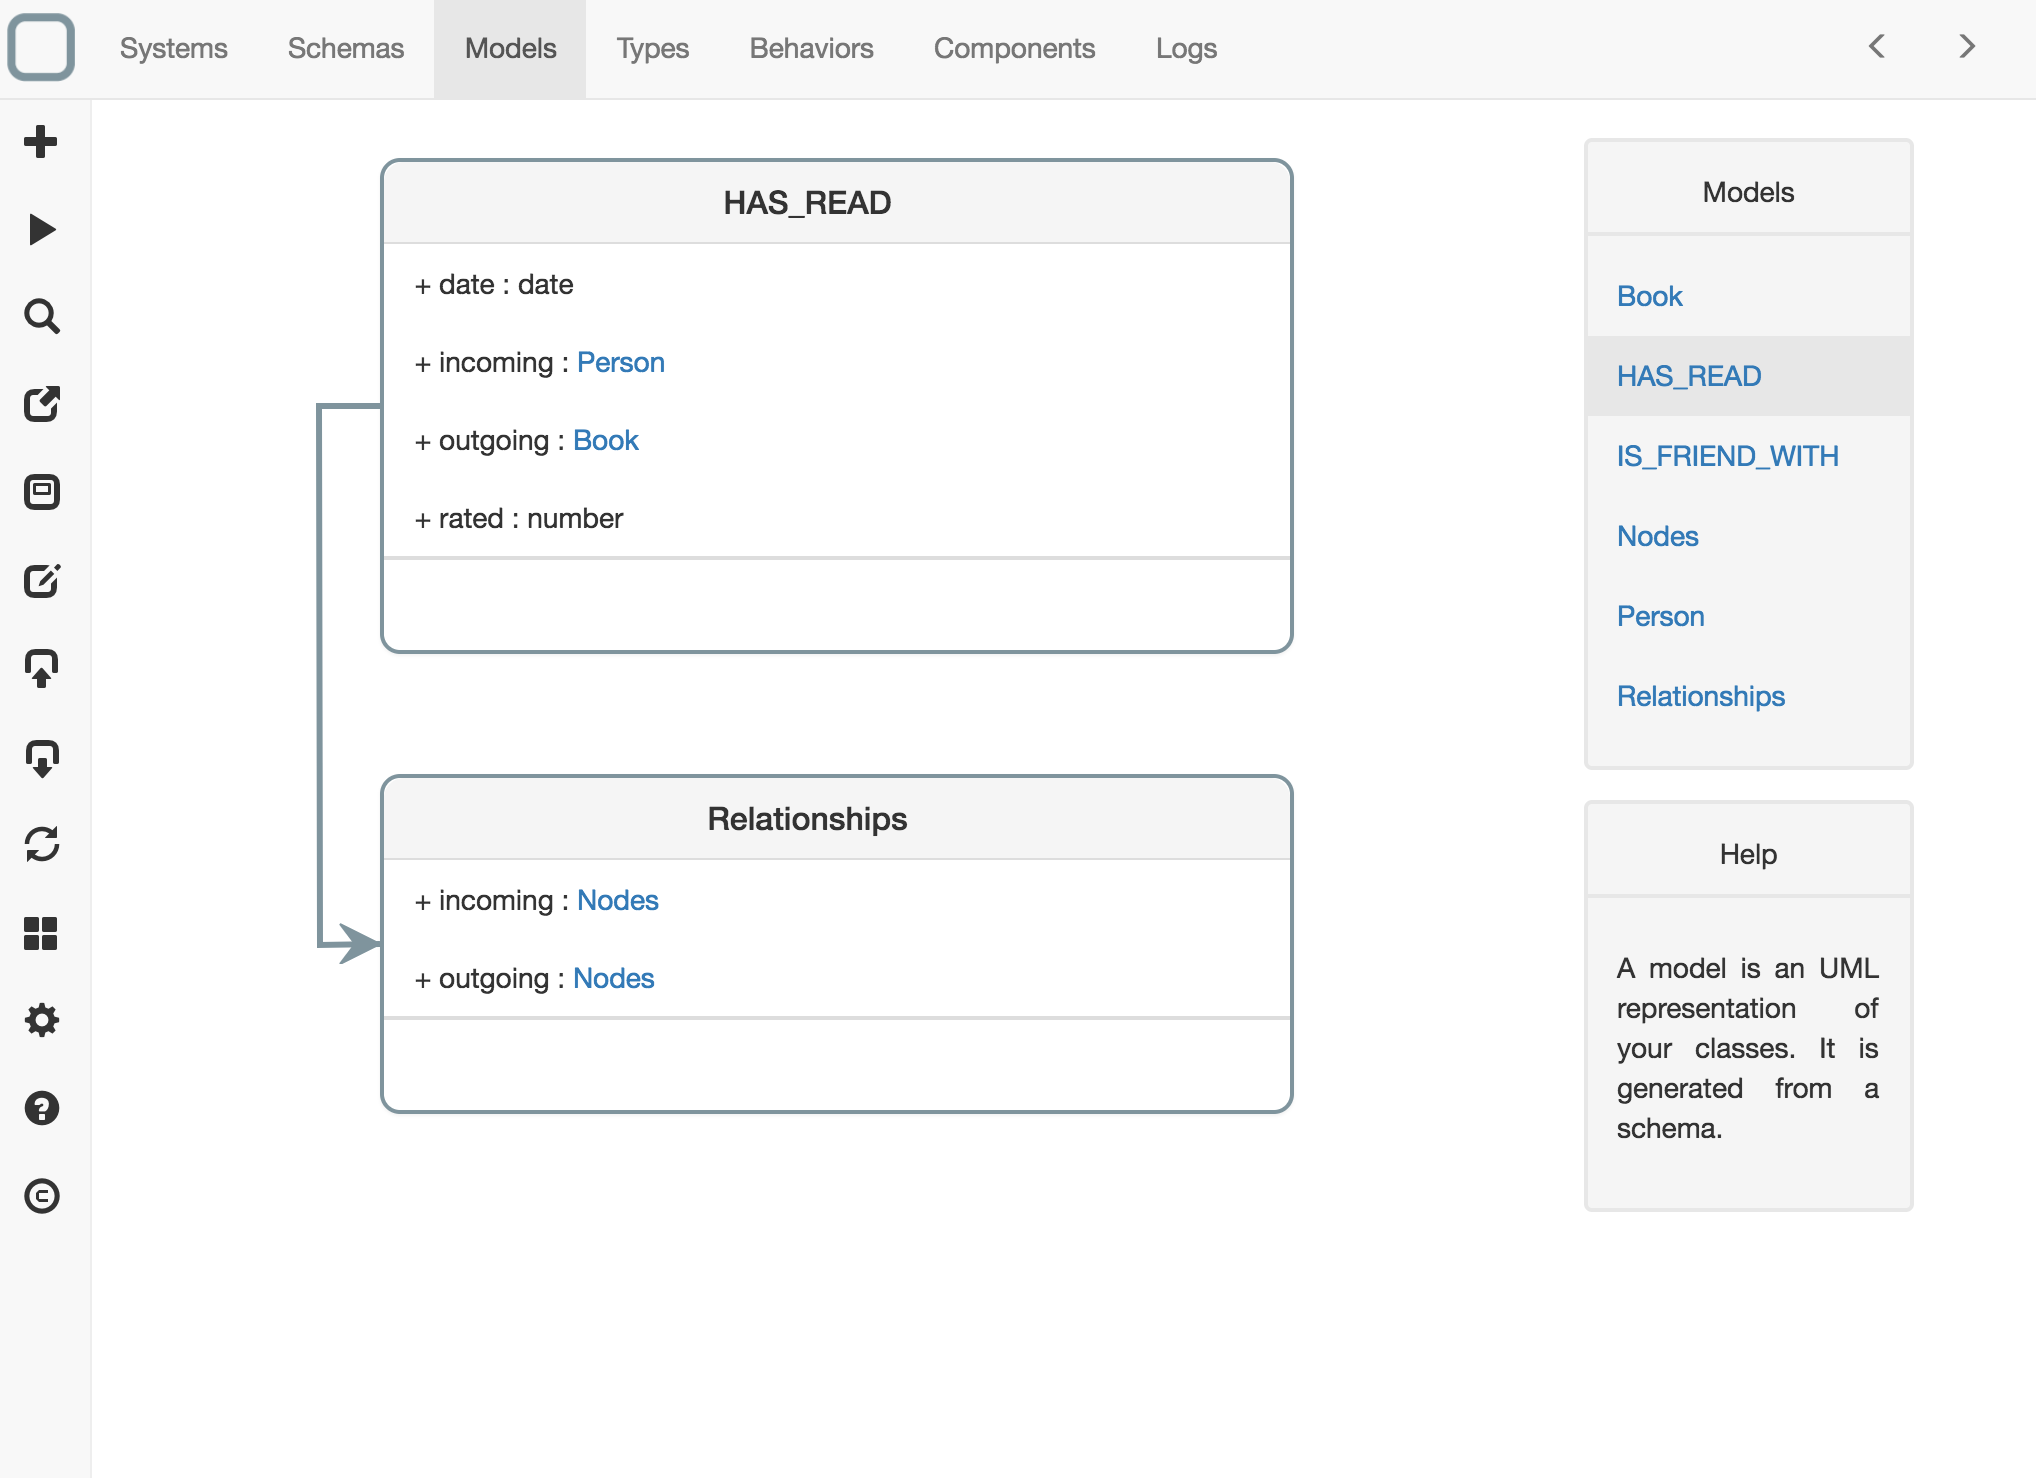
Then click on Models tab and edit HAS_READ model:
{
  "_id": "d11f871f899154fd",
  "_name": "HAS_READ",
  "_description": "",
  "date": {
    "description": "",
    "type": "date",
    "readOnly": false,
    "mandatory": false,
    "default": "1970-01-01T00:00:00.000Z"
  },
  "rated": {
    "description": "",
    "type": "number",
    "readOnly": false,
    "mandatory": false,
    "default": 0
  },
  "incoming": {
    "description": "",
    "type": "Person",
    "readOnly": false,
    "mandatory": false,
    "default": ""
  },
  "outgoing": {
    "description": "",
    "type": "Book",
    "readOnly": false,
    "mandatory": false,
    "default": ""
  }
}
You will need to override incoming and outgoing links to specify the good type for the links (default type was Nodes).
- Click on Schemas tab and create a IS_FRIEND_WITH schema that inherits from Relationships:
{
  "_id": "z1747d12e621e92f",
  "_name": "IS_FRIEND_WITH",
  "_inherit": [
    "Relationships"
  ],
  "since": "property"
}
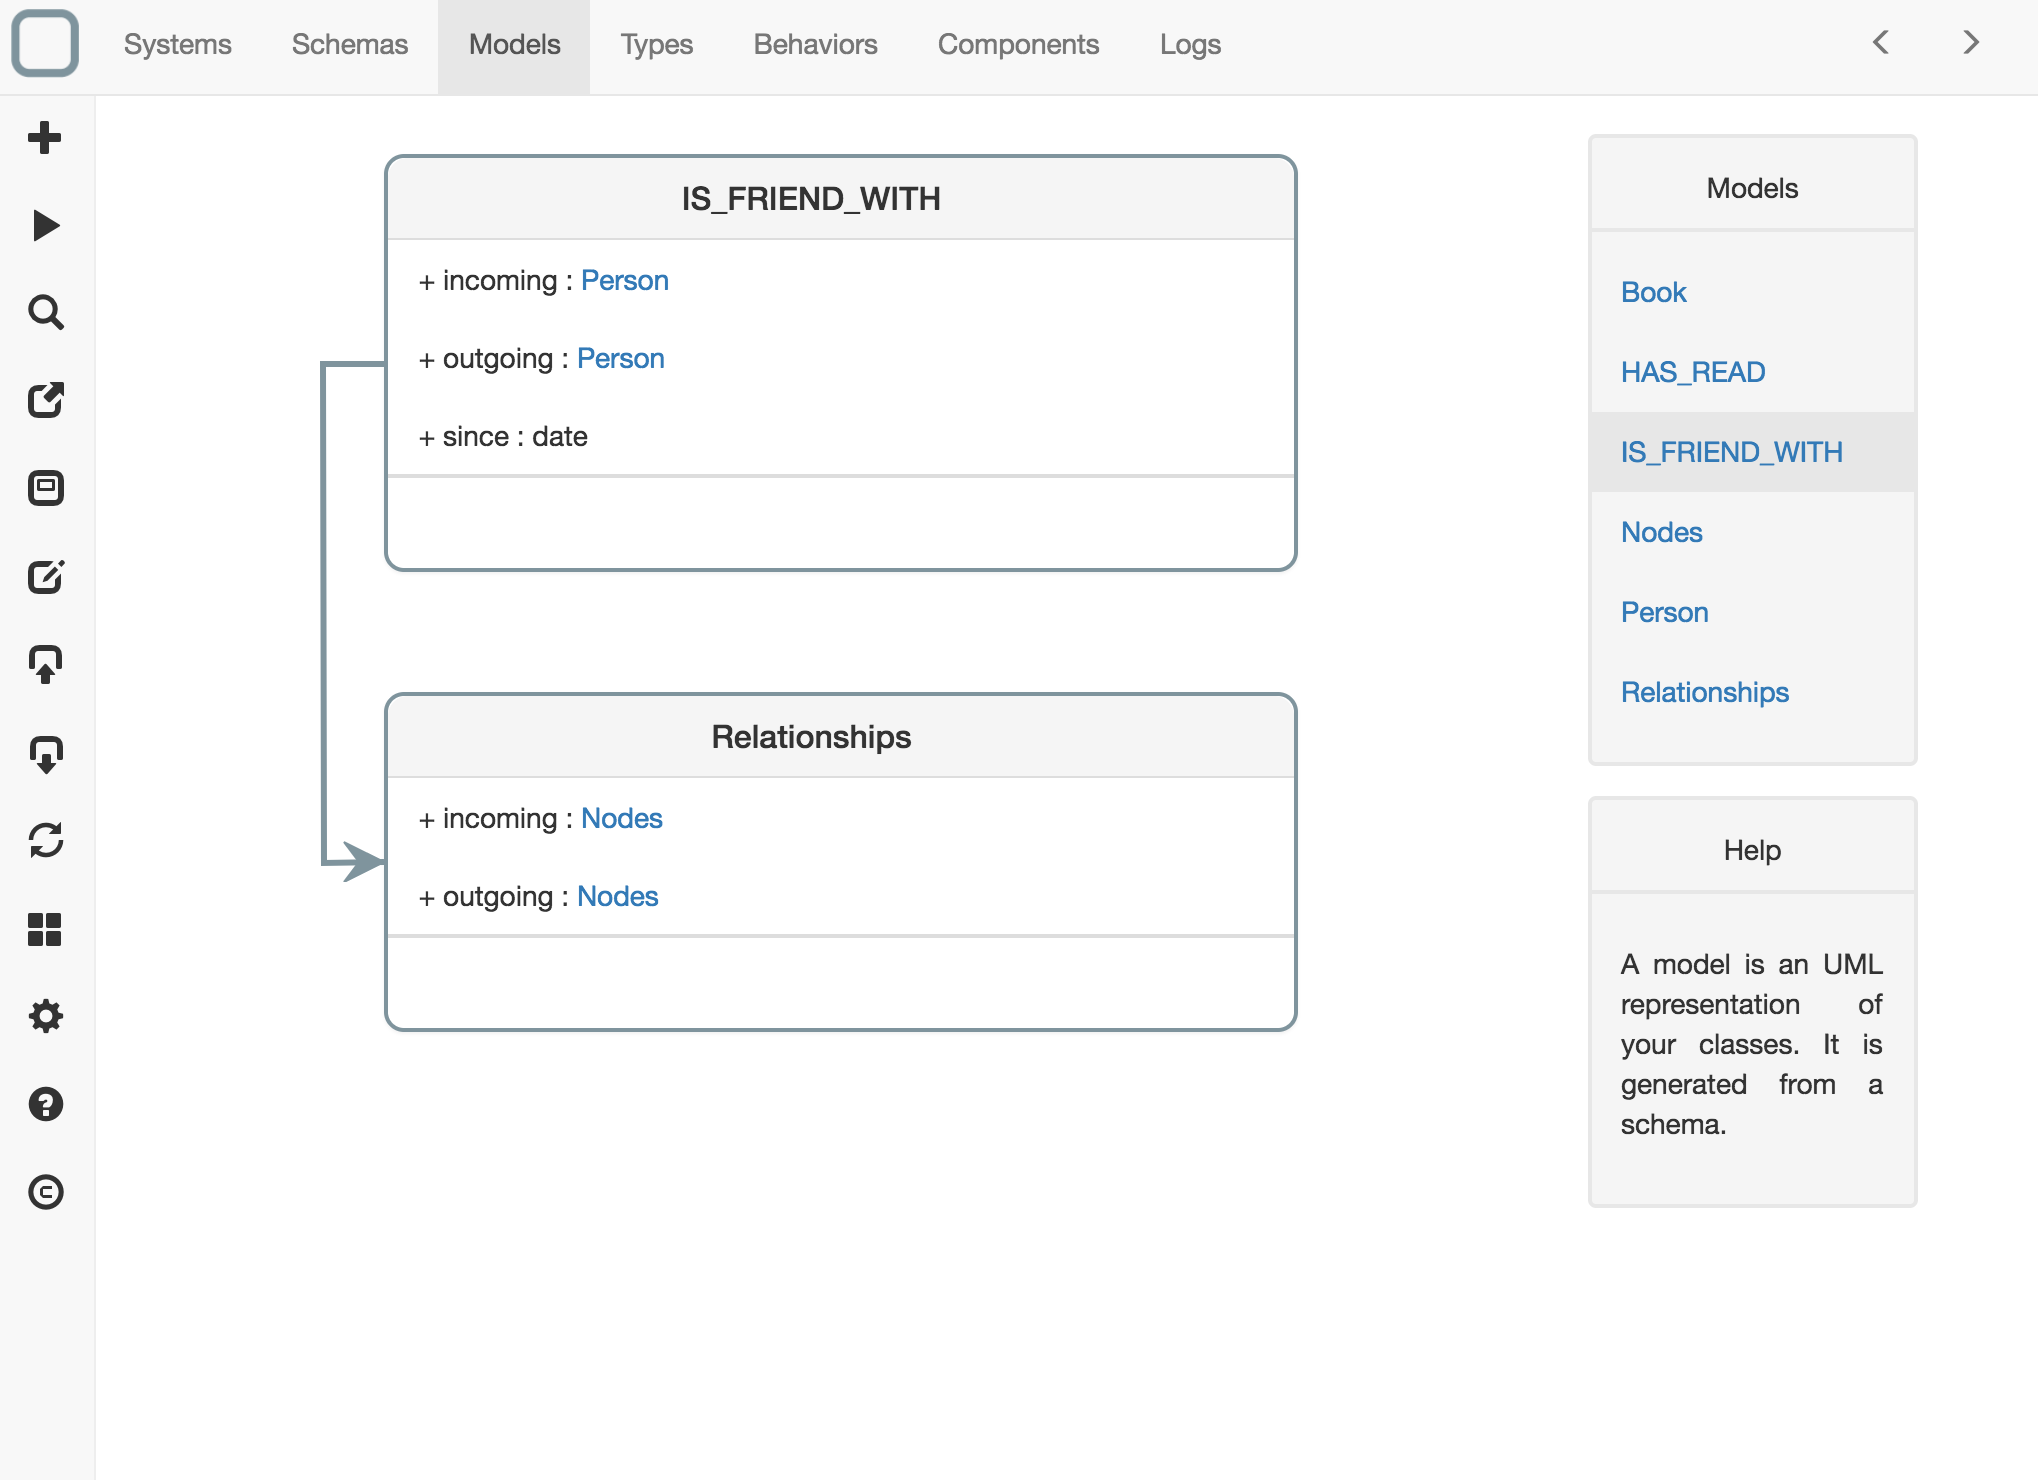
Then click on Models tab and edit IS_FRIEND_WITH model:
{
  "_id": "g19e531c5c819149",
  "_name": "IS_FRIEND_WITH",
  "_description": "",
  "since": {
    "description": "",
    "type": "date",
    "readOnly": false,
    "mandatory": false,
    "default": "1970-01-01T00:00:00.000Z"
  },
  "incoming": {
    "description": "",
    "type": "Person",
    "readOnly": false,
    "mandatory": false,
    "default": ""
  },
  "outgoing": {
    "description": "",
    "type": "Person",
    "readOnly": false,
    "mandatory": false,
    "default": ""
  }
}
You will need to override incoming and outgoing links to specify the good type for the links (default type was Nodes).
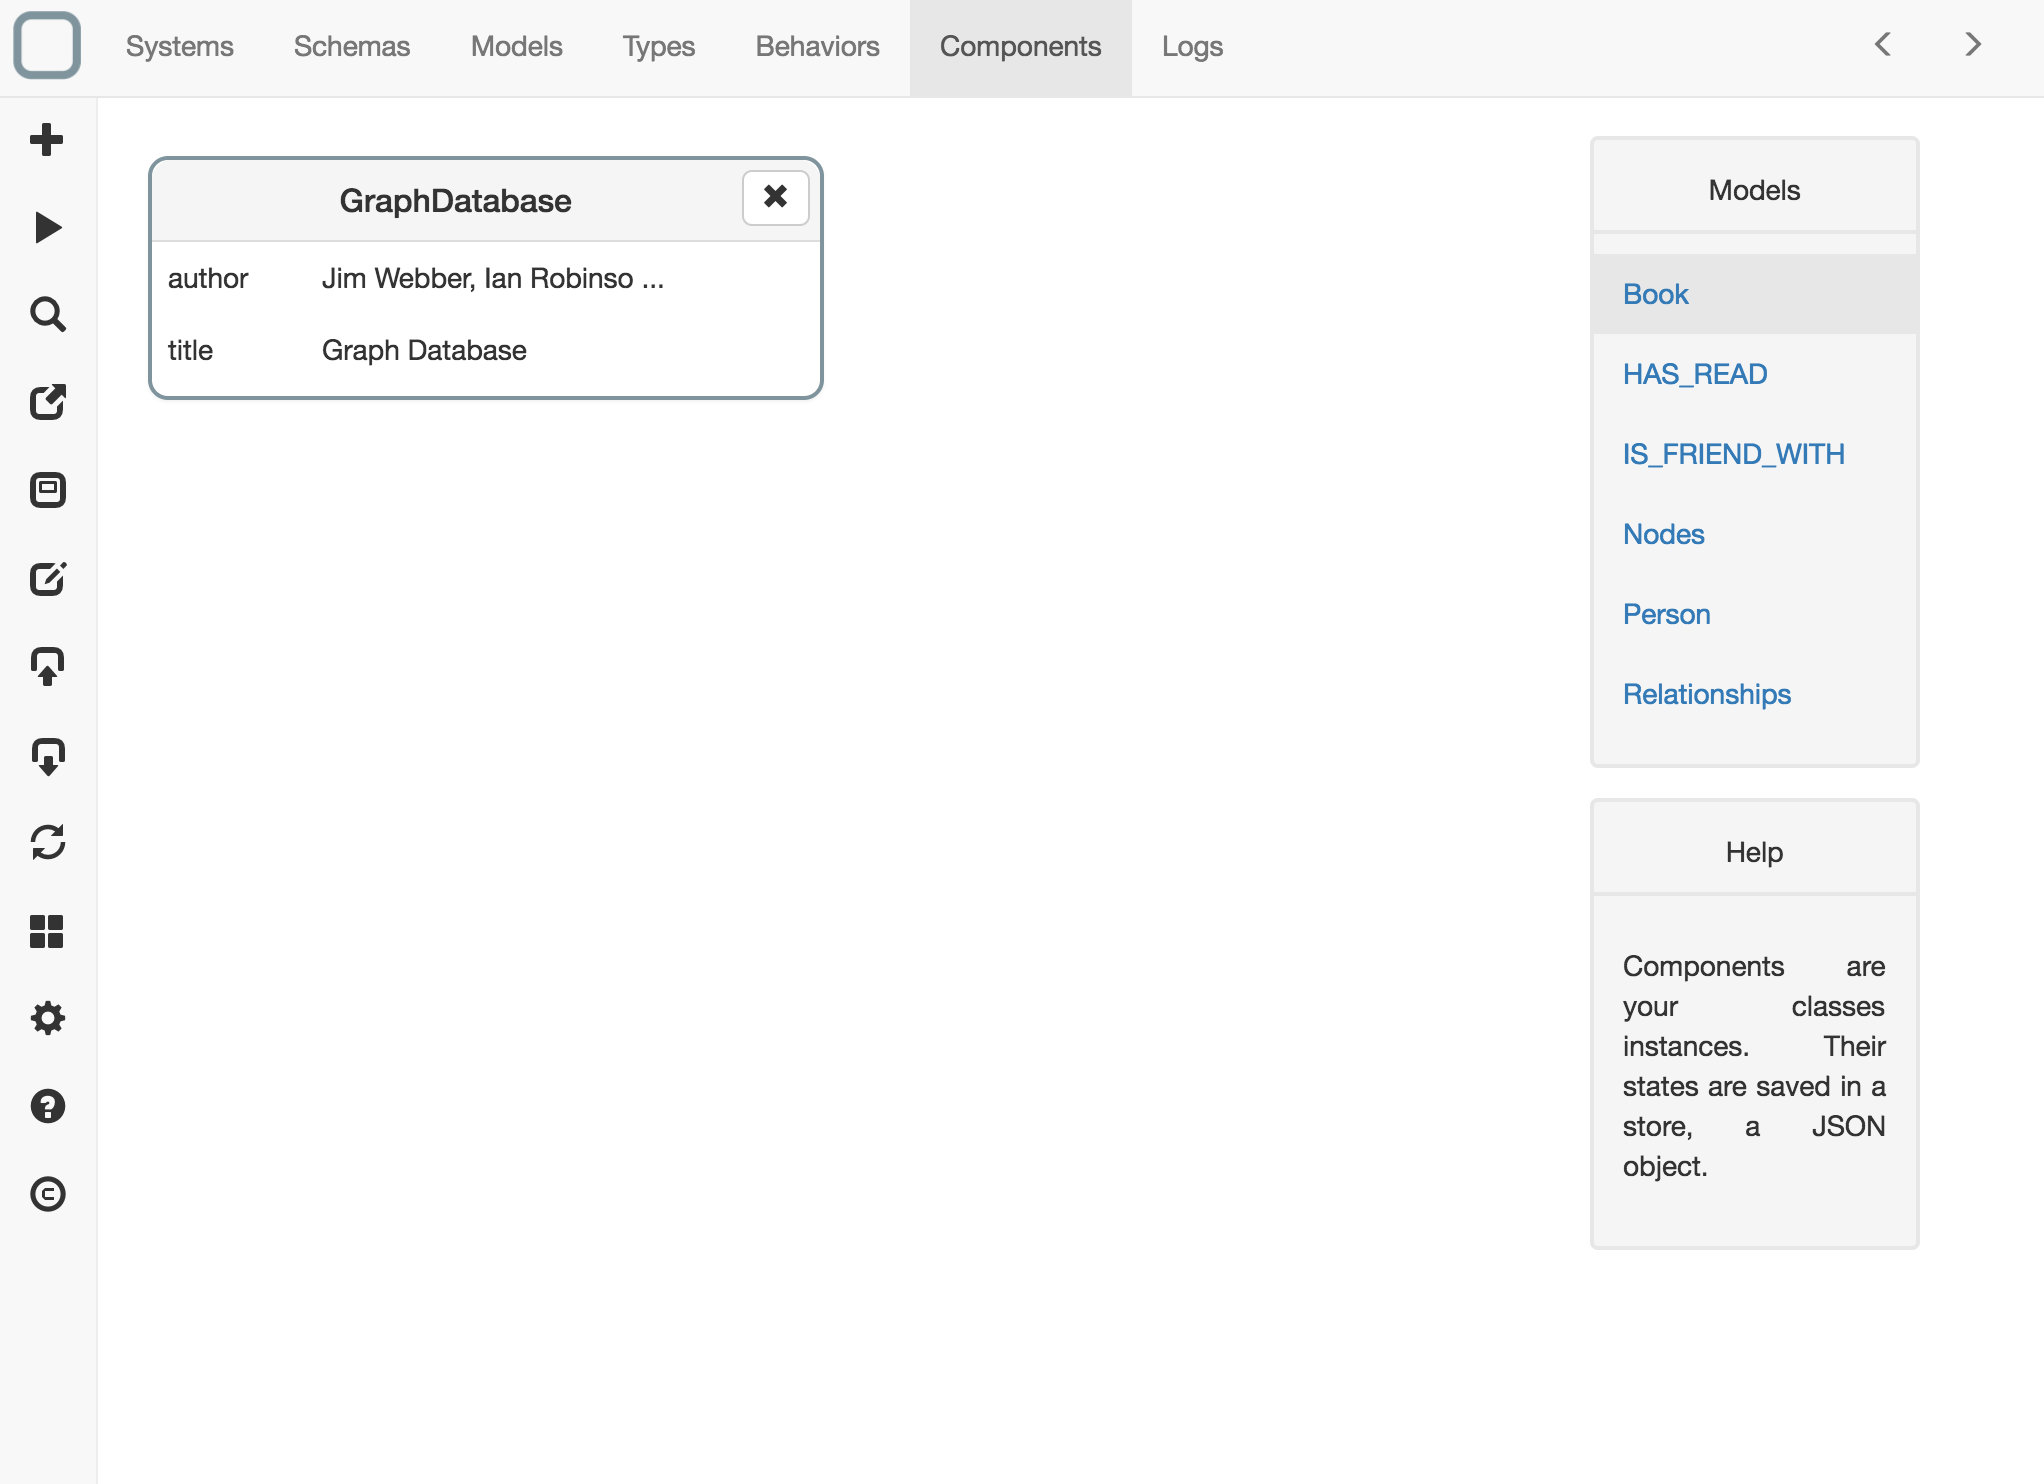
Create the nodes components
- Click on Components tab and create a Book component thant contains this code:
{
  "_id": "GraphDatabase",
  "author": "Jim Webber, Ian Robinson",
  "title": "Graph Database"
}
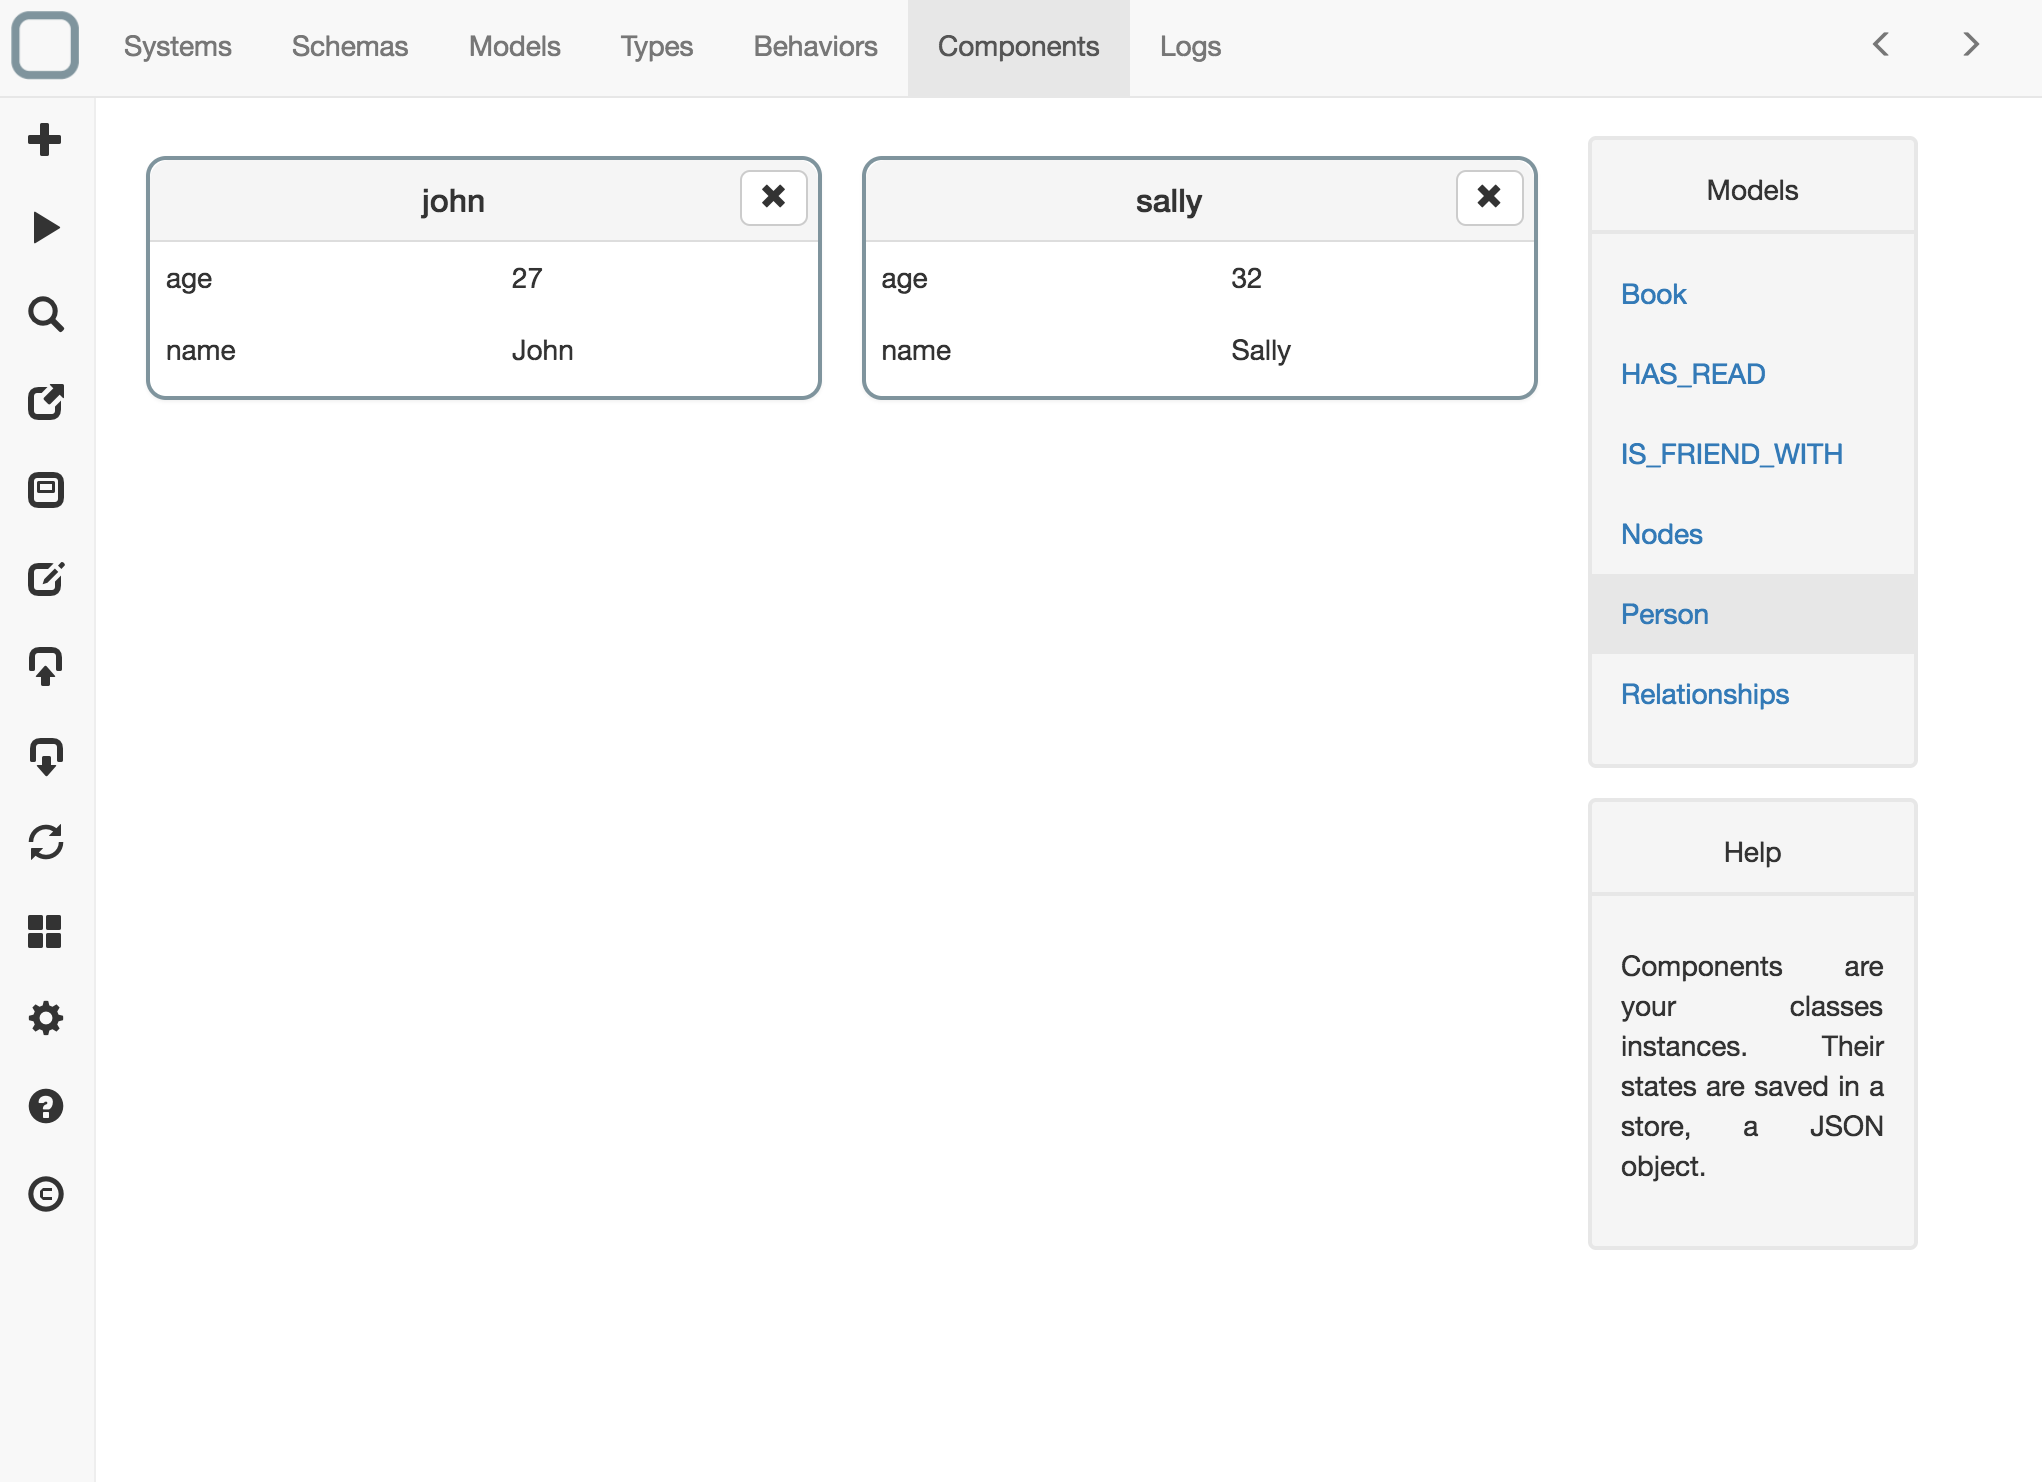
Then create 2 Person components that contain these codes:
{
  "_id": "john",
  "age": 27,
  "name": "John"
}
{
  "_id": "sally",
  "age": 32,
  "name": "Sally"
}
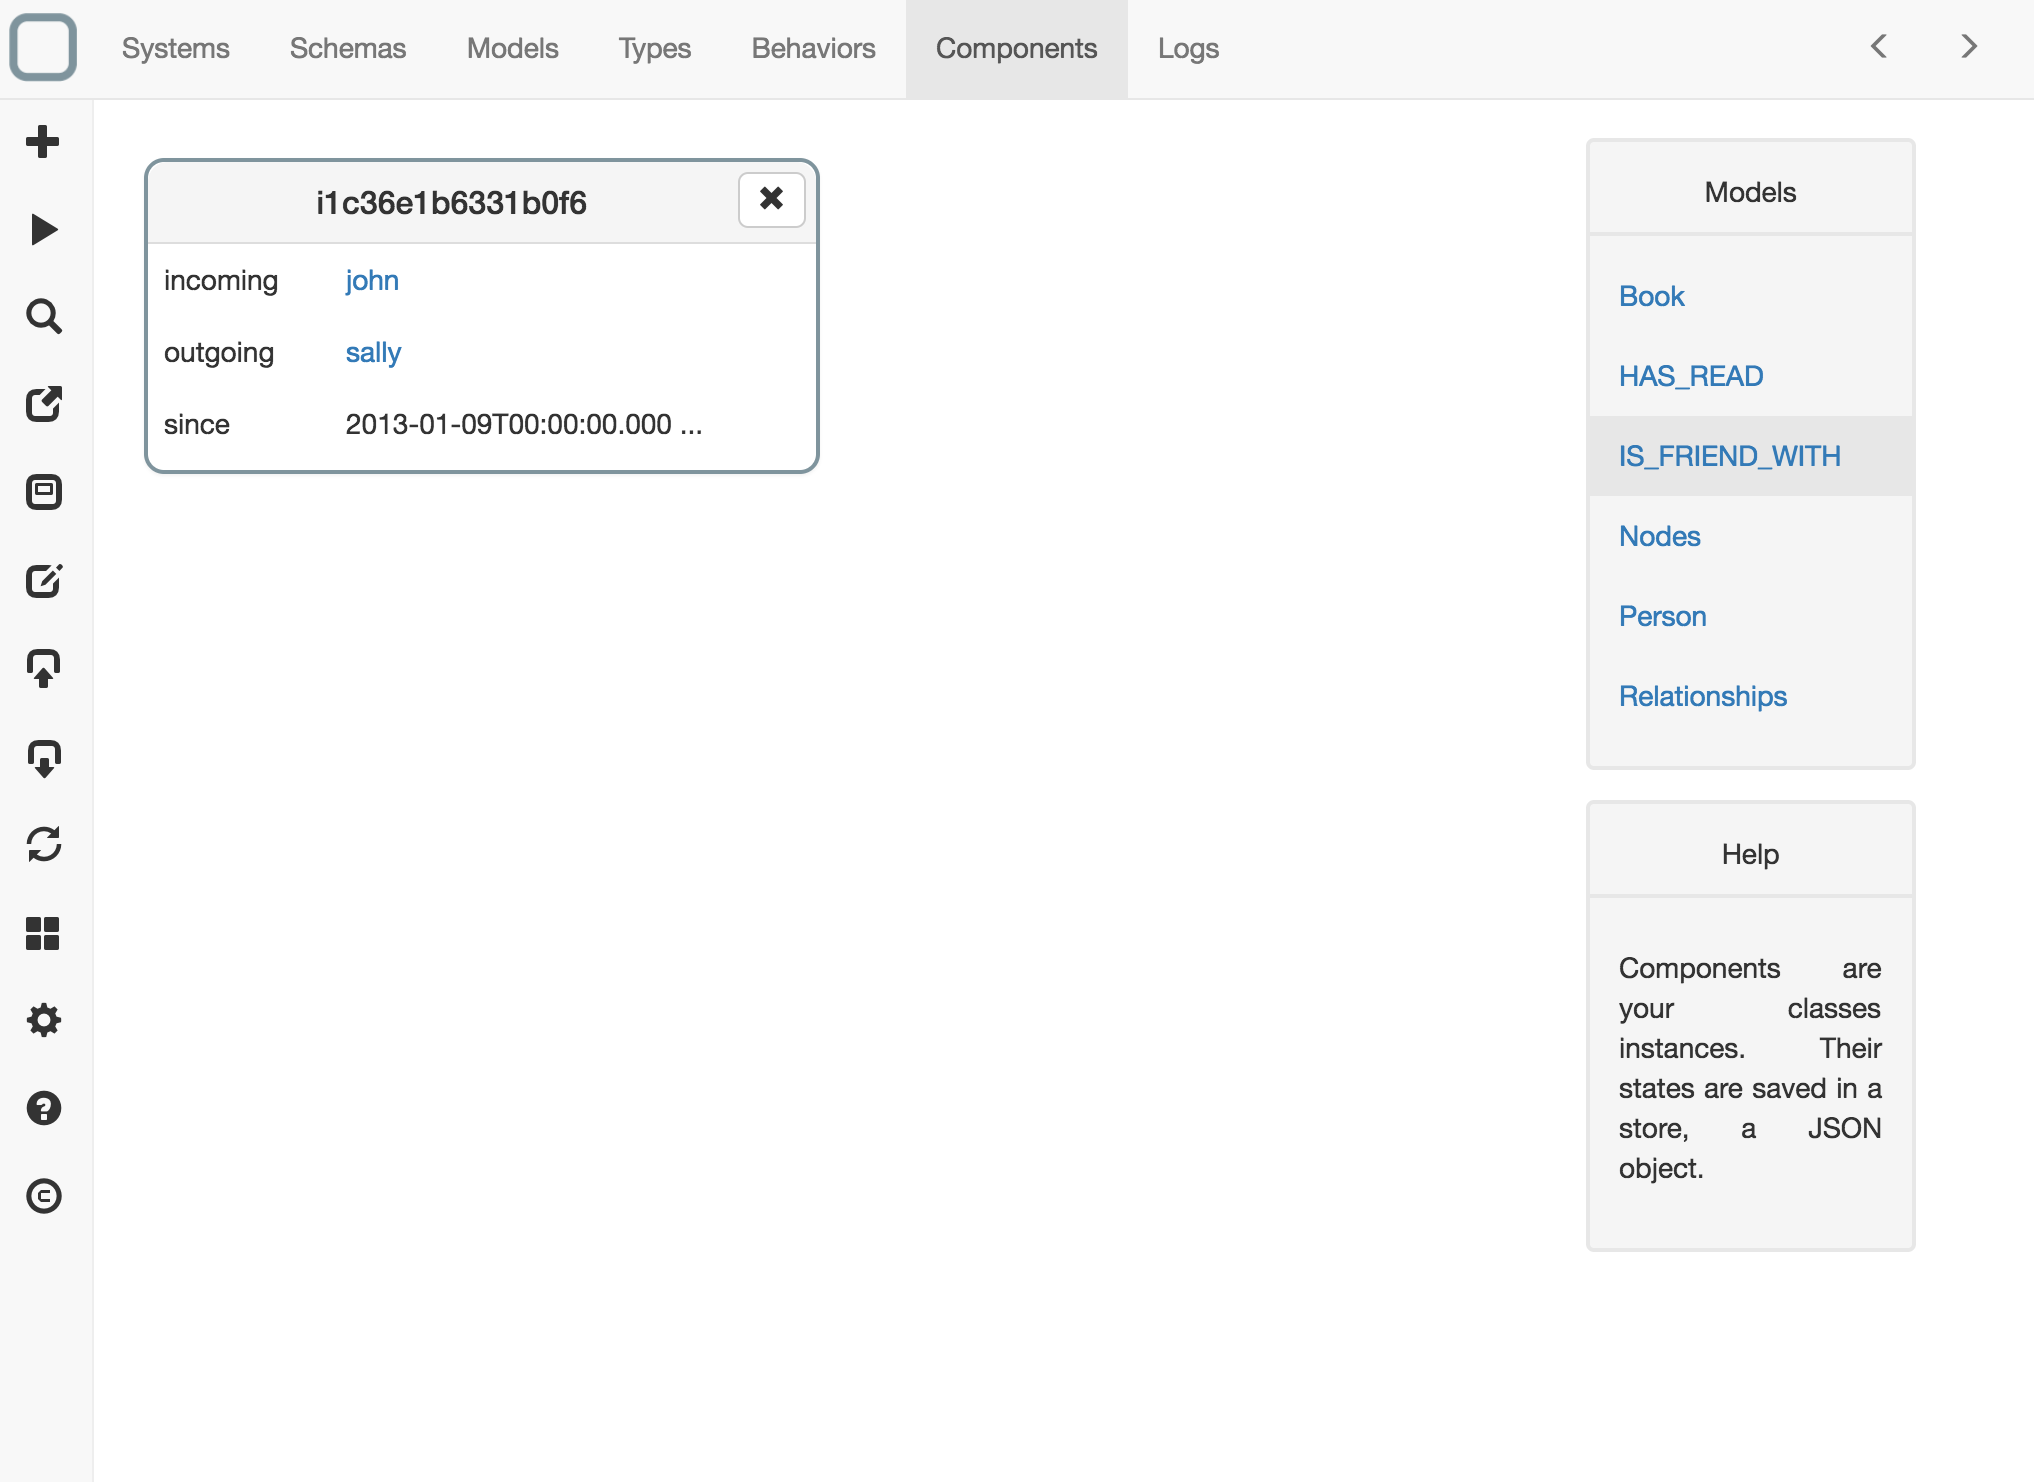
Create the relationships components
- Click on Components tab and create a IS_FRIEND_WITH component thant contains this code:
{
  "_id": "i1c36e1b6331b0f6",
  "incoming": "john",
  "outgoing": "sally",
  "since": "2013-01-09T00:00:00.000Z"
}
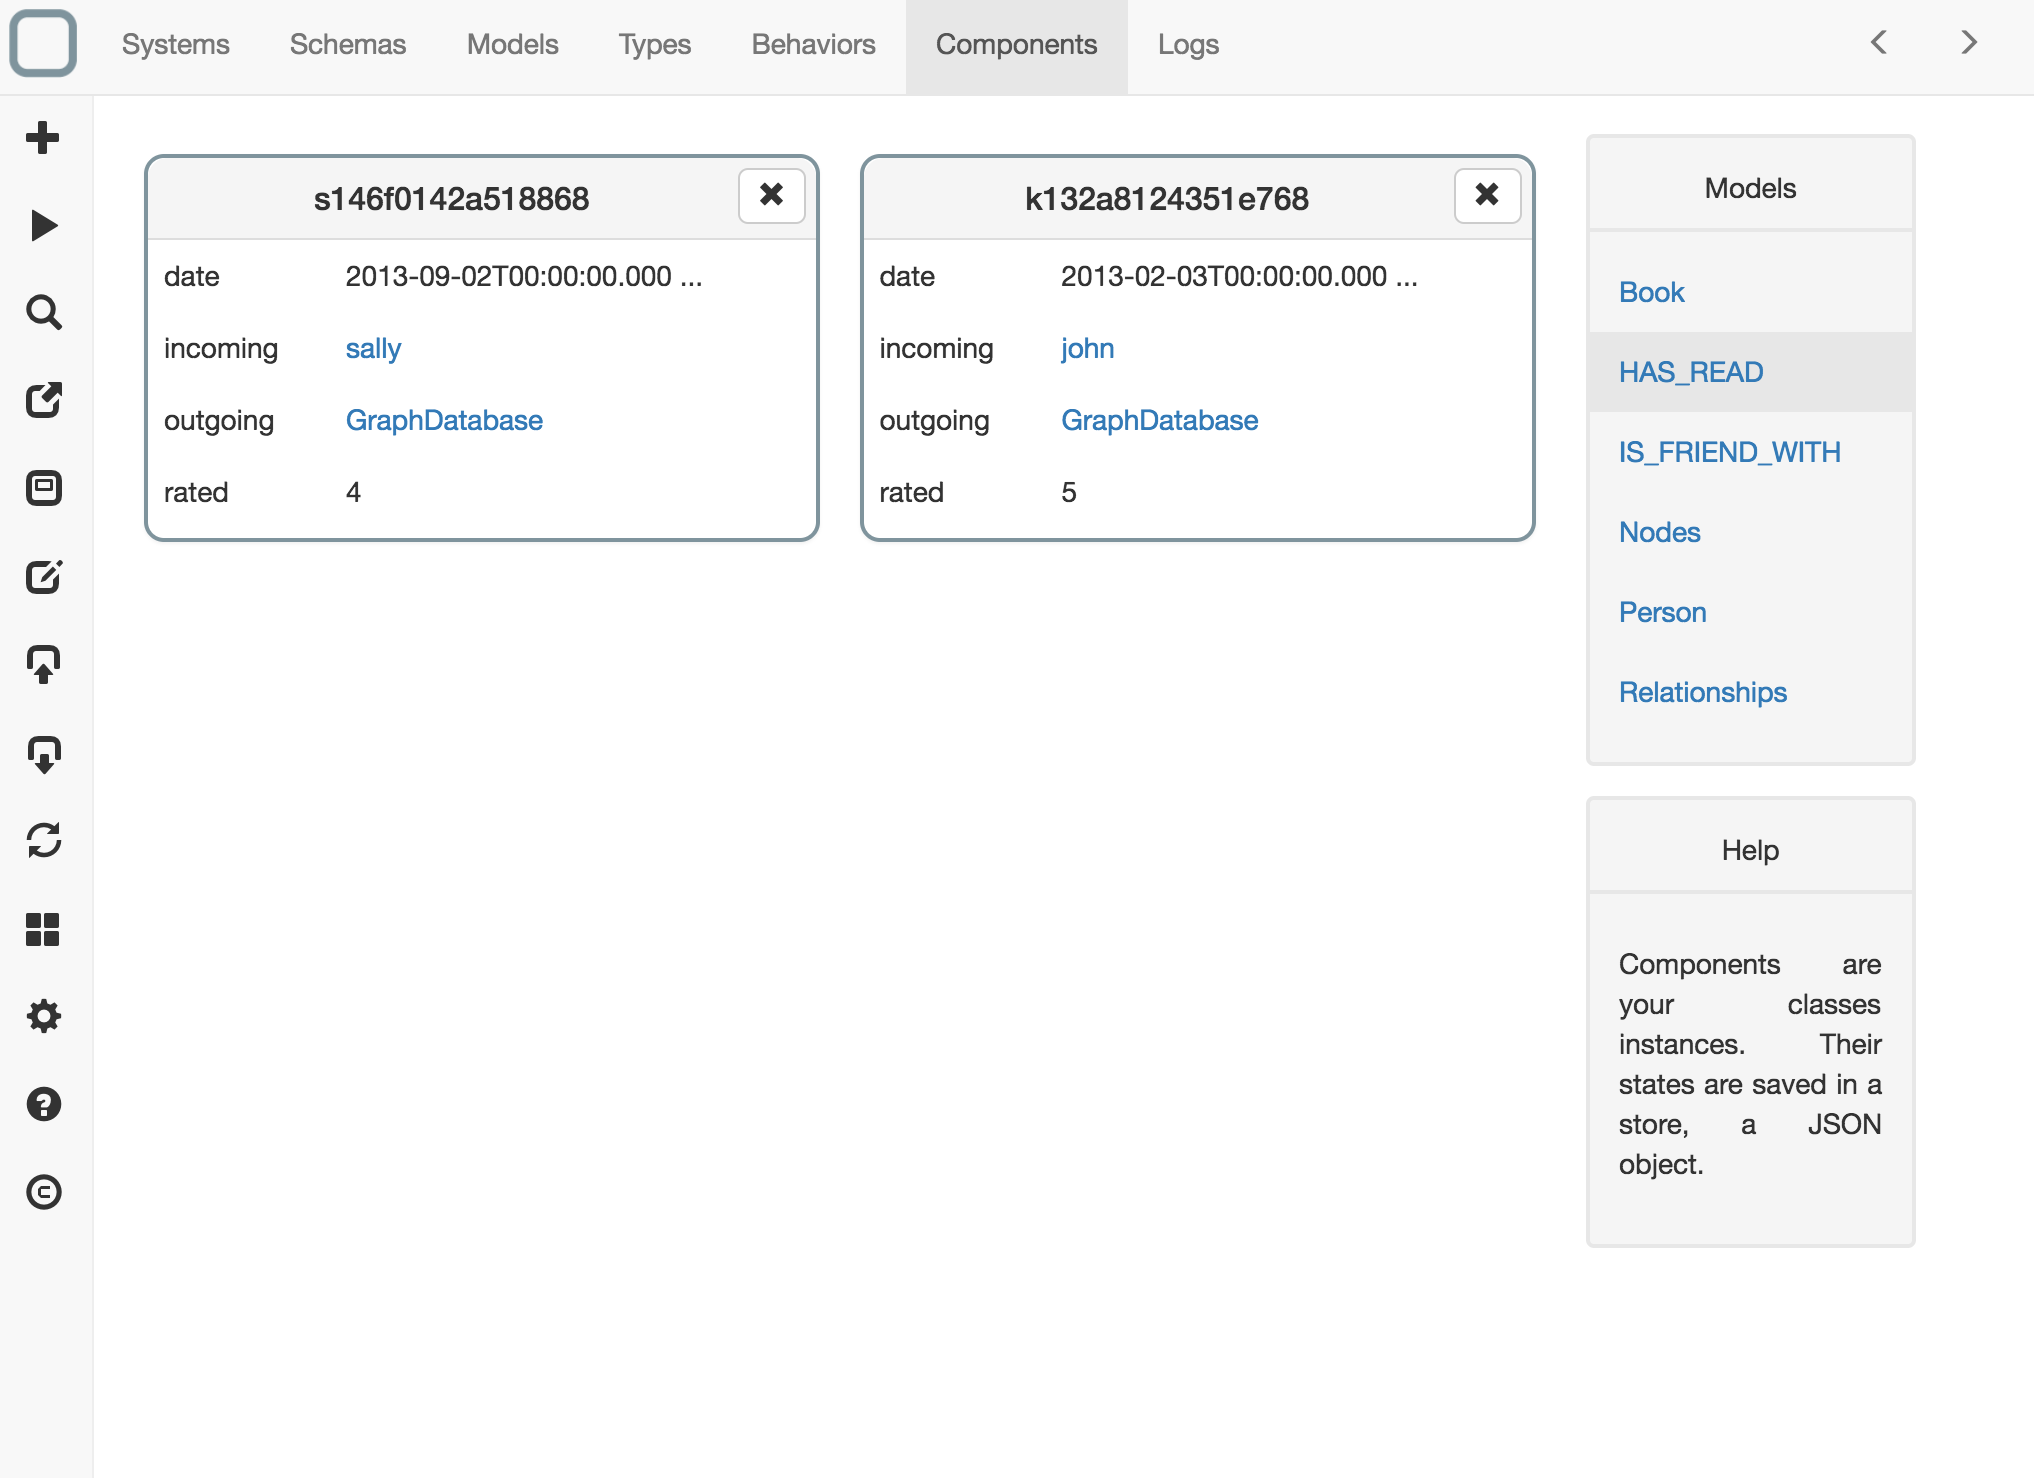
Then create 2 HAS_READ components that contain these codes:
{
  "_id": "s146f0142a518868",
  "date": "2013-09-02T00:00:00.000Z",
  "incoming": "sally",
  "outgoing": "GraphDatabase",
  "rated": 4
}
{
  "_id": "k132a8124351e768",
  "date": "2013-02-03T00:00:00.000Z",
  "incoming": "john",
  "outgoing": "GraphDatabase",
  "rated": 5
}
View the Graph model
- just click on the corresponding button in the toolbar (the 5th button from the top)
Then a new window will open and you will see the different diagrams of your system.
- click on Graph diagram,
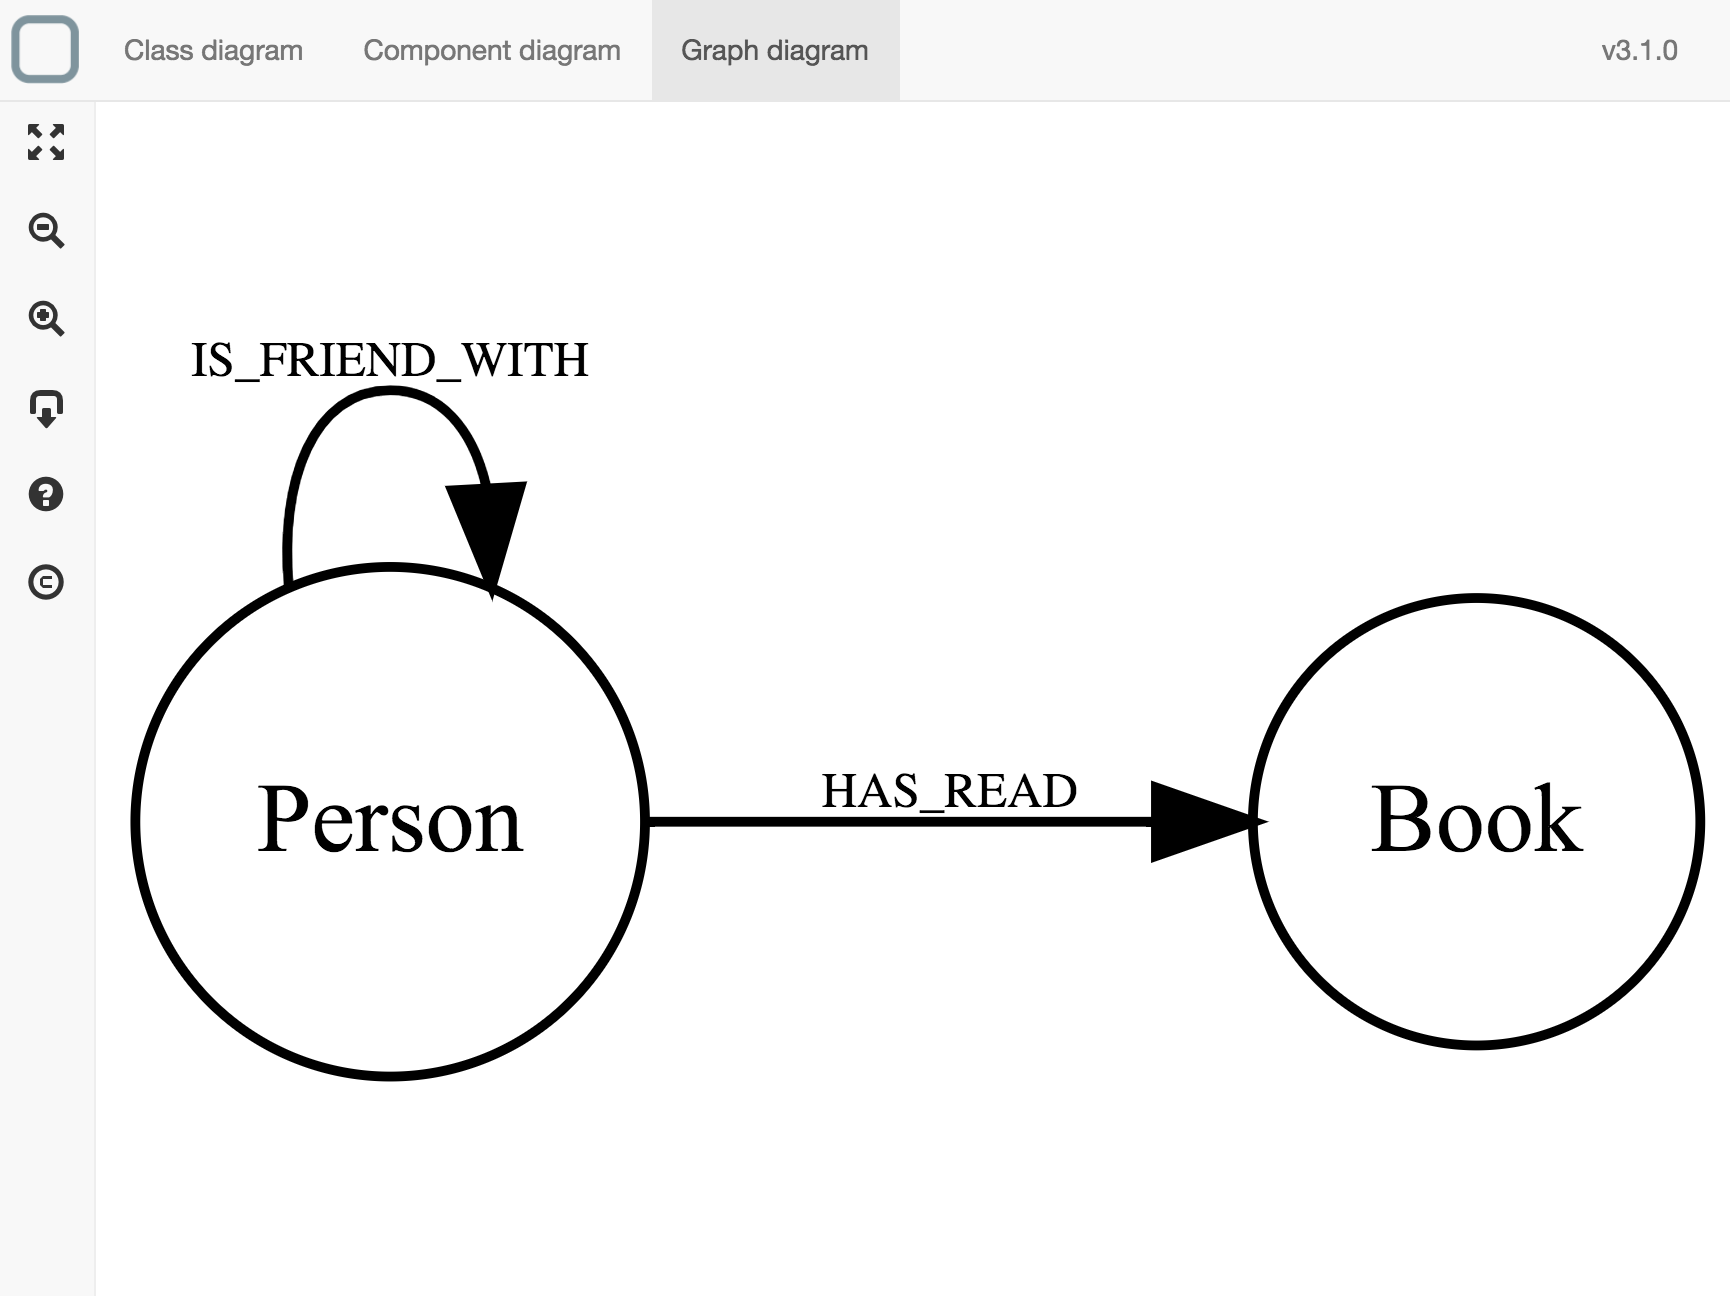
You see now the complete Graph of your system.
View the Component model
- click on Component diagram,
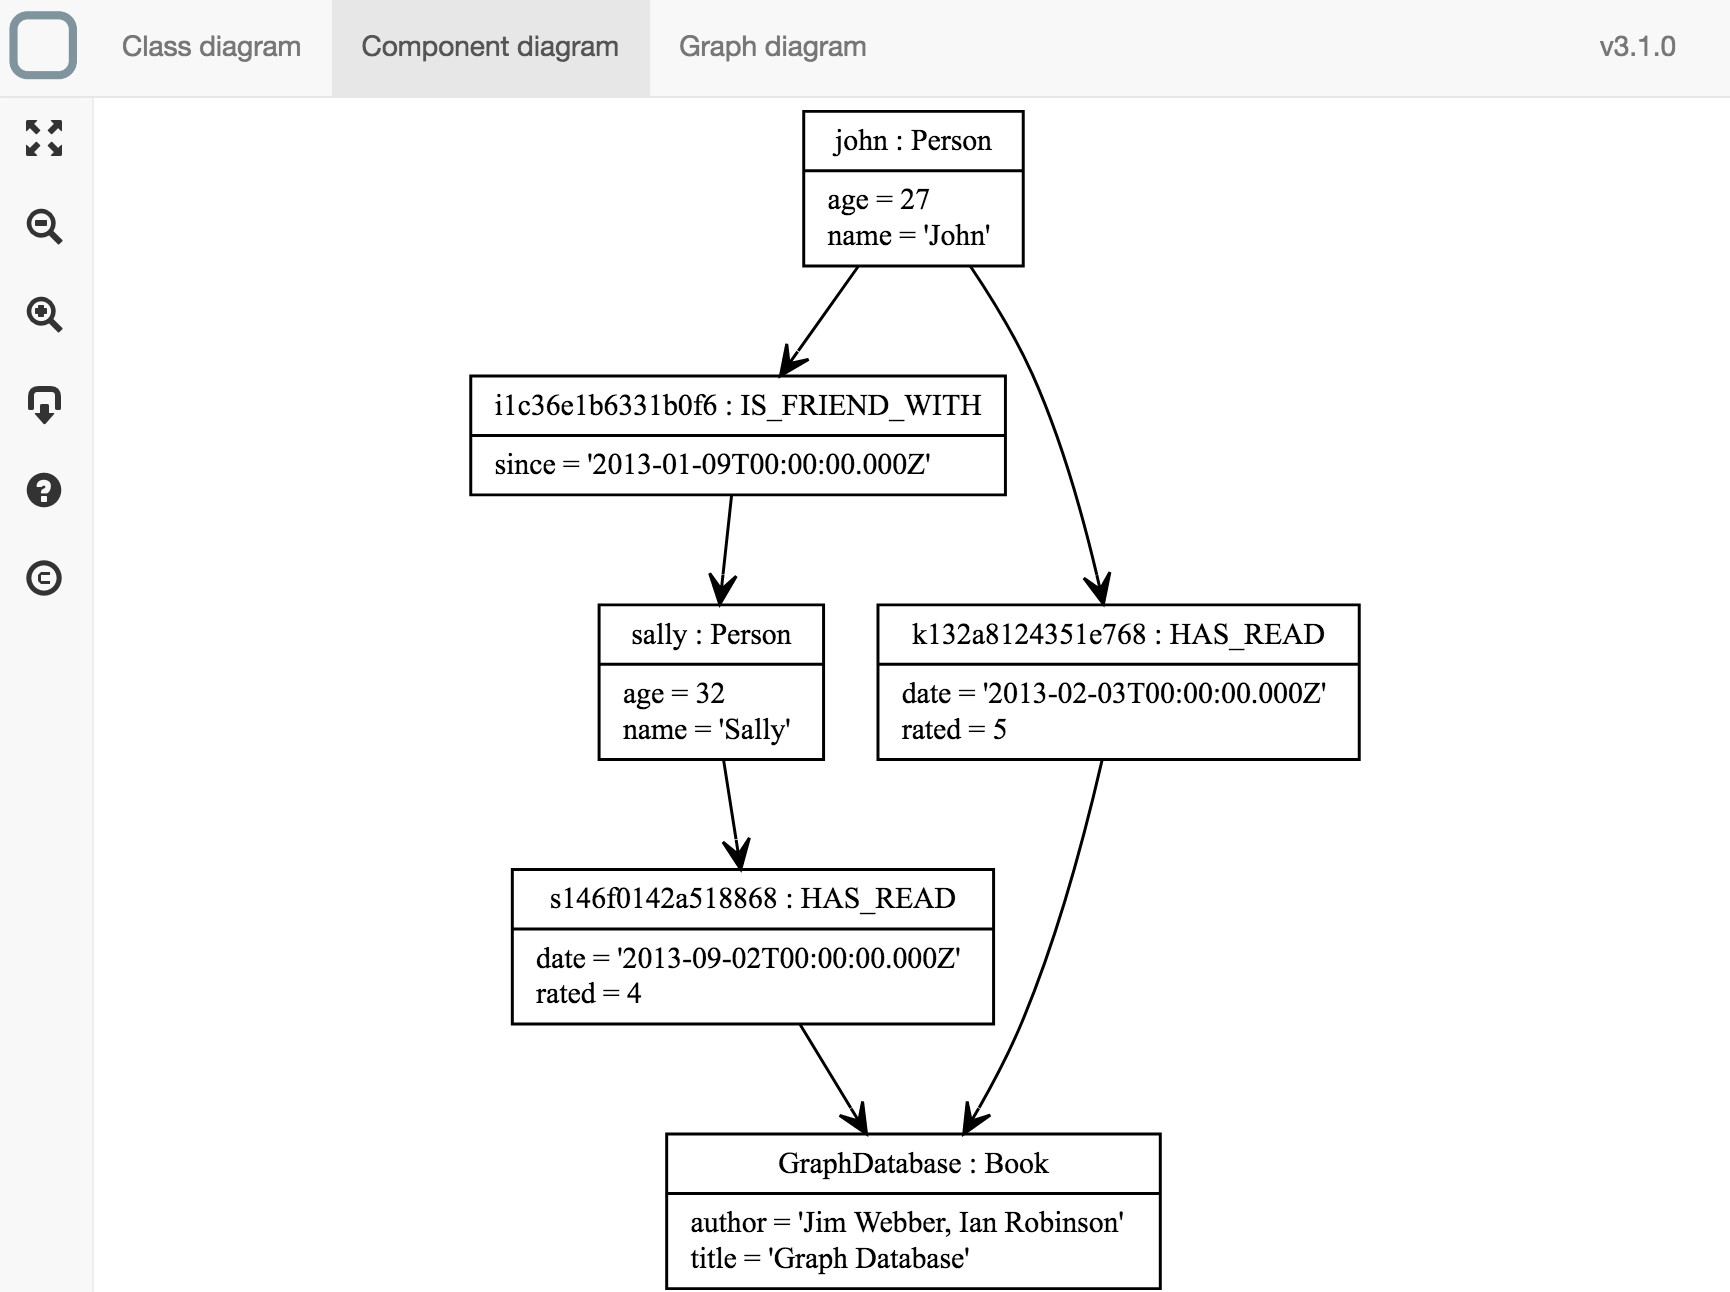
You see now the relations between all your nodes components.
Make requests on your graph
To query your graph system you will need to use the NoSQL data store APIs.For example, you can add on the start method of your system:
function start() {
  this.require('logger').info(
    this.require('db').collections().HAS_READ.find({
      'outgoing': {
        '$eq': 'GraphDatabase'
      }
    }).length
  );
}
It will give the number of person that have read GraphDatabase book.
You can see here a list of available APIs to request your system.